

Let me start off by saying that I will never never make Lemon Curd any other way as long as I have an Instant Pot. It's so ridiculously easy. There's no standing over the stove making sure this doesn't scorch on the bottom. It only takes like nine minutes of cooking time. I keep using my Instant Pot more and more. The yogurt was also made in the Instant Pot. Both were pretty hands off, other than the straining bit for the yogurt.
If you like a certain yogurt that's sold in what looks like deli containers, that's starts with the letter "N". I'm telling you this is better. Granted it's not as sweet, but I prefer not as sweet.
The Lemon Curd is perfect for scones, on top of ice cream, yogurt, in between layers of sponge cakes, on top of cheesecakes. I've eaten it off of a spoon. It also freezes well if you ever need to use up a bunch of lemons.

The yogurt. I've only made yogurt twice in the Instant Pot, I've been making it for years though (links to Yogurt posts that are made with different methods). I like thick yogurt so I add heavy cream. I haven't added powdered milk yet, I haven't needed to, after straining I can get the consistency I like. I don't sweetened our yogurt I just add vanilla bean to it. I've done both a whole gallon and half gallon of milk. I use whole milk, I haven't tried anything lower in fat. Milk was on sale for $1.49 a gallon this past week. You read that right. I haven't seen milk that low in... YEARS. It wasn't organic, but oh well. I just made a ton of yogurt for $1.49.

Nice and thick too.
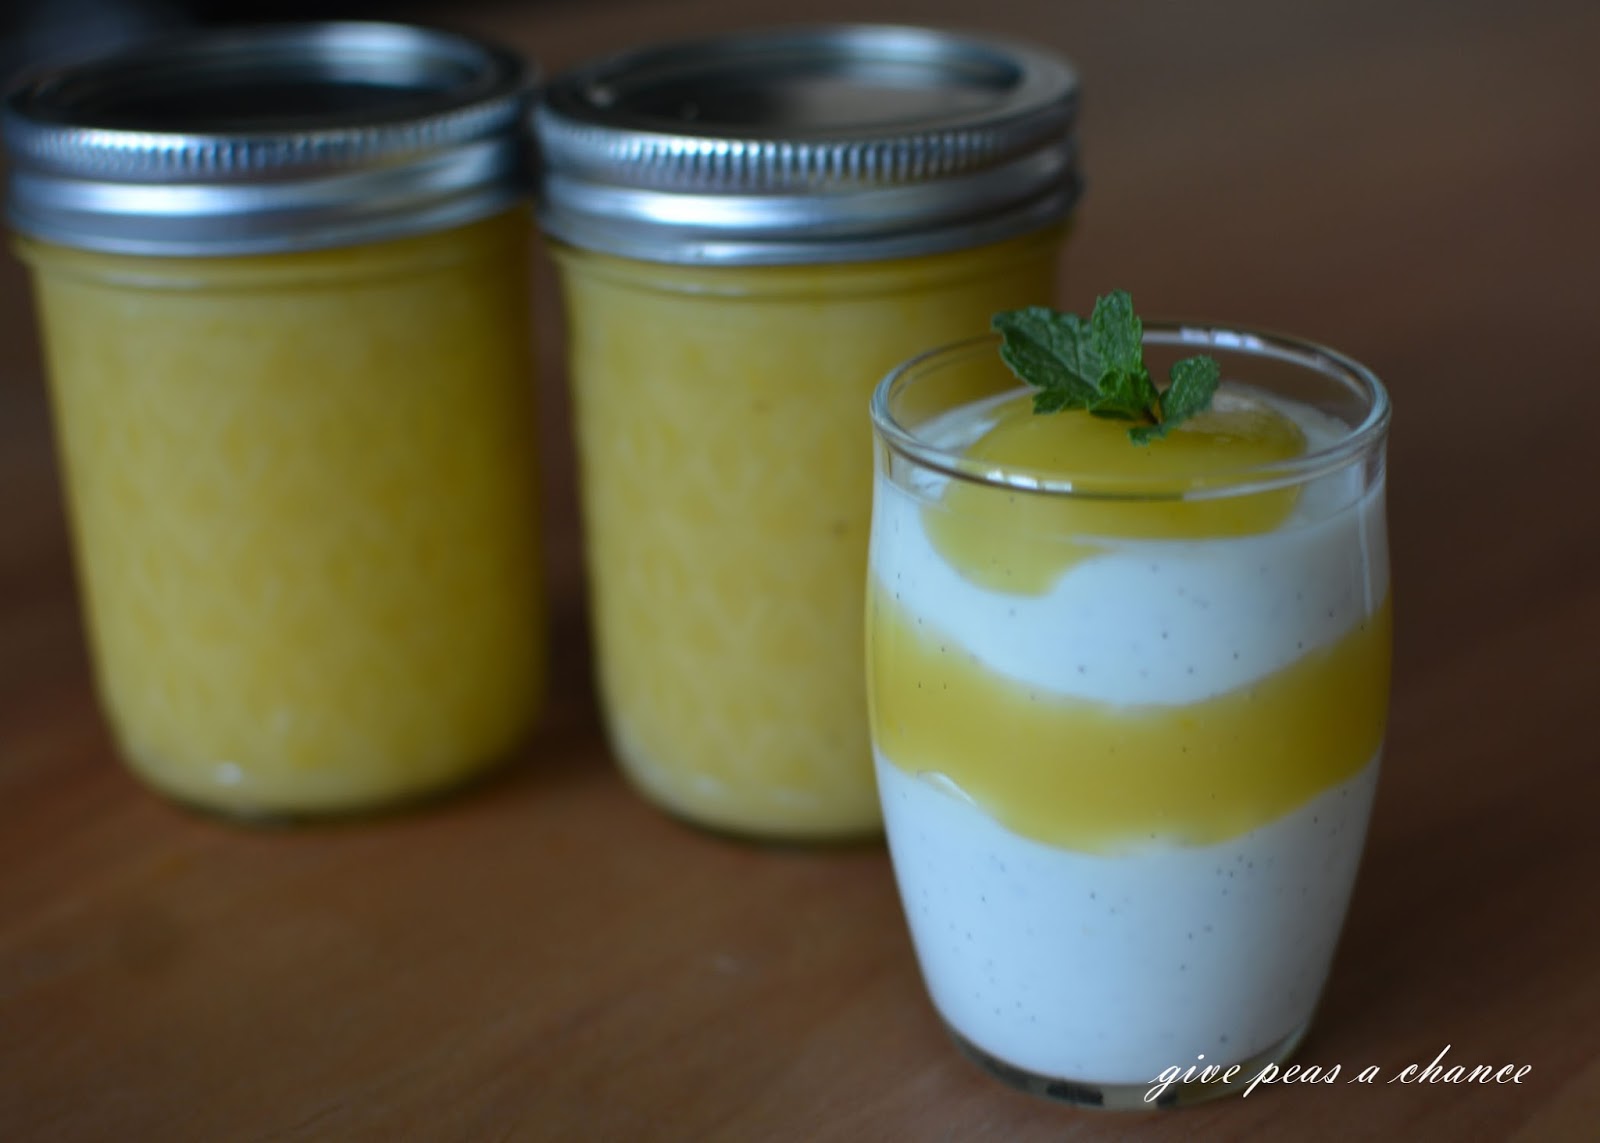
Making the yogurt in the Instant Pot is nice and easy. It's not faster, but you aren't watching a pot for a long time either. I don't both sweetening this, with the vanilla in it I eat it plain. The kids will add honey sometimes. I also flavor part of the batch but leave part of it plain to use as sour cream.


Maybe I'll bake some scones in the morning for my Lemon Curd.
If you need a scone recipe or two, see my posts here.
Vanilla Bean Lemon Curd
1-1/3 cup granulated vanilla sugar, 268 gr
5 tablespoons unsalted butter, melted 72 gr
1 teaspoon lemon zest, zest from about two medium lemons
3/4 cup lemon juice
1 teaspoon vanilla extract, or vanilla bean paste
pinch of salt
3 large eggs, plus one yolk beaten
- In a bowl combine sugar with the butter.
- Whisk in lemon zest, lemon juice, vanilla, and salt.
- Strain eggs through a mesh strainer into the sugar mixture. Whisk.
- Pour mixture into a oven safe container and cover with a piece of foil or pour into jars an close just until finger tight.
- Place 1 to 1-1/2 cup water into the liner of your Instant Pot.
- Place a trivet in the liner and place lemon curd on the trivet.
- Select HIGH PRESSURE for NINE minutes.
- Once pressure cooking is done, let the pot naturally release pressure for 10 minutes.
- Remove curd from the Instant Pot and stir well.
- If you are storing the Lemon Curd in a different container, pour it into that container.
- Let cool on the counter for 20-30 minutes.
- Cover and finish cooling in the refrigerator.
- Serve on scones, in between cake layers, on yogurt, on ice cream, etc.
Makes about 2-1/2 cups
* To avoid a metallic taste, use a glass bowl and avoid aluminium while heating and mixing the lemon curd. Mason jar lids are usually okay because they have a coating on them. I try not to use stainless steel bowls for mixing also, just in case.
* To avoid a metallic taste, use a glass bowl and avoid aluminium while heating and mixing the lemon curd. Mason jar lids are usually okay because they have a coating on them. I try not to use stainless steel bowls for mixing also, just in case.
* Plain sugar can be used if Vanilla Sugar is not available. To make vanilla sugar, split a vanilla bean and place it in a container with a couple cups of sugar. Shake well every few days or so. Let the vanilla flavor the sugar for a few weeks before using.
* Lemon Curd freezes well, store in freezer safe jars or food saver bags. Find more Freezer Tips here.
*If you prefer plain lemon curd, omit all the vanilla.
* Lime curd can be made the same way.
*Blood Orange and other citrus fruits can be used, I would still use part lemon juice as oranges are sweeter and the sugar needs that balance.
* Lime curd can be made the same way.
*Blood Orange and other citrus fruits can be used, I would still use part lemon juice as oranges are sweeter and the sugar needs that balance.
Instant Pot Yogurt
1/2 gallon whole milk, I use store bought, both organic and non. Just not ultra pasteurized
2 tablespoons of plain yogurt that has live active cultures
1-2 cups heavy cream, optional
A thermometer
- *Place one cup of water into the liner of the Instant Pot (IP), place any jars or storage containers for the yogurt in there also. ONLY if they are oven safe, no plastics!
- Press STEAM, ONE minute. This will sterilize your containers and pot. *You can sterilize the containers after you strain your yogurt also.
- Remove the contents of the pot and reserve in a clean environment for use. Let the pot cool before continuing.
- Add milk and cream to the empty Instant Pot liner.
- Place lid on the Instant Pot, it doesn't matter if the vent is open or closed.
- Press YOGURT, and ADJUST to BOIL.
- Heat the yogurt on this cycle to 180-185 degrees F. The Instant Pot should beep when it hits this temperature.
- Check the temperature with your thermometer, if the milk is not at 180-185 degrees F, turn the saute function on and stir until the milk has heated.
- Wait until the milk has cooled to 110 degrees, to speed this up you can sit the liner in an ice bath.
- Once the milk has cooled take about one cup or two out and stir your starter yogurt into that cup.
- Pour the milk with starter into the IP liner with the rest of the milk.
- Place lid back on the IP, press the YOGURT button and adjust the time to 8-10 hours. The longer it incubates, the more tart the yogurt. I use ten hours and don't find the yogurt too tart. The timer will start to count UP.
- Once the incubation period is over, remove the liner from the IP, cover and place it in the refrigerator to fully chill, it will get thicker in the processes. If you need our IP for something else pour the yogurt into another container to chill.
- You will see clear yellow whey around your yogurt. You can stir this in for a thinner yogurt, or strain your yogurt to make it thicker and use the whey for baking or cooking.
- To strain, I use a colander lined with coffee filters. Place the yogurt in the colander on top of the coffee filters. Set it over a bowl in the refrigerator. Strain until it's the consistency you like.
- Stir in vanilla or vanilla bean seeds, or other flavorings to taste before storing yogurt.
* I don't always sterilize my pot or jars, I just make sure they are clean. But sometimes I do, of I have time.
That's it! It takes a long time because of cooling and straining etc. But it's so worth it. I hope you'll try these recipes.

No comments:
Post a Comment
Thank you for reading Give Peas A Chance! Comments may take awhile for me to moderate! I'll post them as soon as I can and reply! If you haven't followed Give Peas A Chance check the right side of my blog to do so!
If you need something right away I can usually be found pretty quickly on my FB page.